

-
How it works

-
Industries
-
Services
-
Material
-
Company
-
Resources


Prepare lighter parts by creating controlled internal hollows that reduce material usage without changing outer design intent.
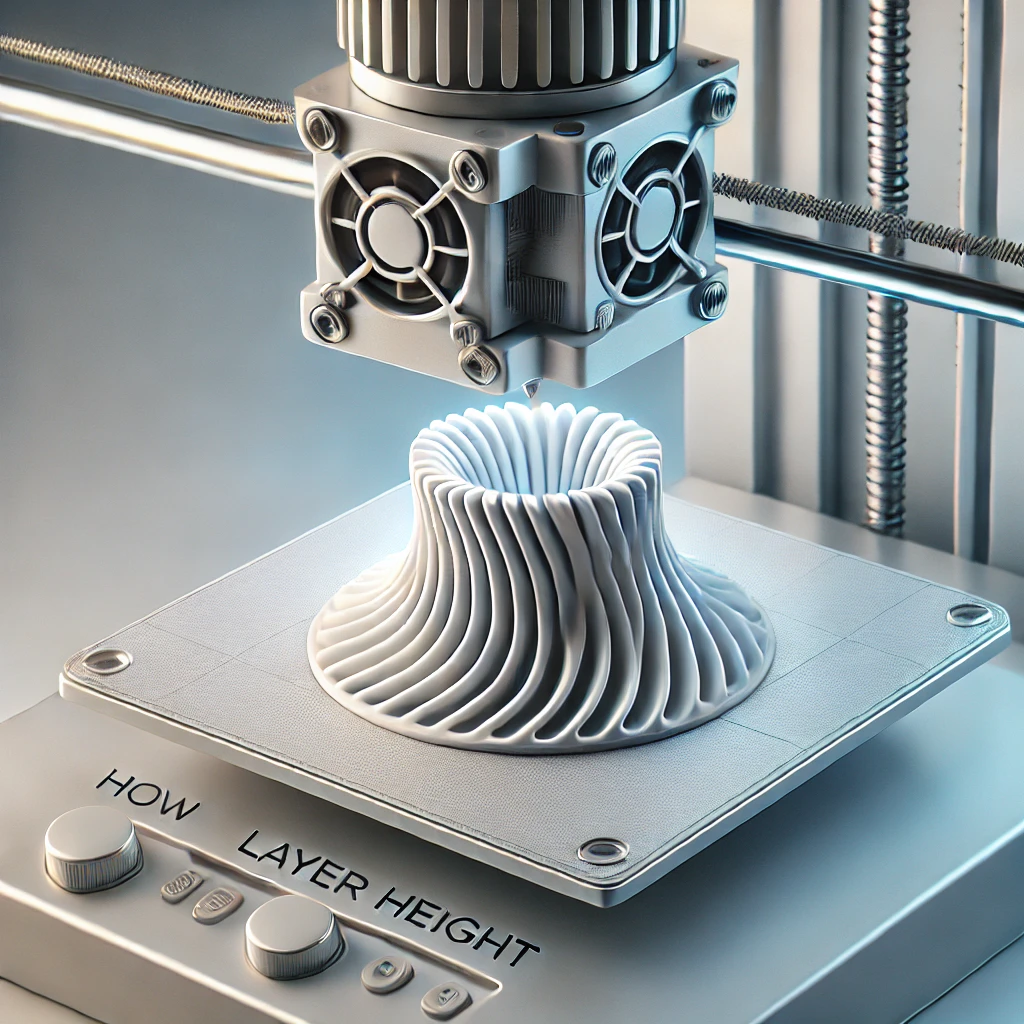
Part hollowing & material saving
Upload a solid STL or OBJ and iamRapid's hollowing engine builds a hollow shell by offsetting an inner wall inward from the surface, so you keep the outer shape but remove the solid core. You set the wall thickness, see the before/after volume and how much material you save, inspect the cavity with a 3D cross-section, and download a hollowed STL ready to slice. Everything runs locally in your browser — no upload, no account, and your model never leaves your device.
This is the wall left after hollowing. Thinner walls save more material; thicker walls are stronger and safer to print. Change it any time — the part re-hollows automatically.
Supports STL (binary & ASCII) and OBJ. For STEP, IGES, 3MF or other CAD formats, convert the file first.
Hollowing replaces the solid interior of a part with an empty cavity, leaving only a wall of a chosen thickness. Because most of the volume of a solid model is interior material that never carries load on a display piece or prototype, removing it can cut the printed material by a large fraction — often well over half on blocky parts. That directly lowers material cost, part weight and print time. It matters most on resin processes such as SLA/DLP, where resin is expensive, and on SLS nylon, where powder cost scales with the solid volume of the part.
iamRapid's free online hollowing tool reads your STL or OBJ in the browser, builds an inner shell offset inward from the surface, and shows you the original solid volume, the remaining shell (material) volume and the material saved before you download a hollowed STL. Nothing is installed, no account is needed, and your model never leaves your device.
Wall thickness is the trade-off between saving material and keeping the part strong and printable. As a practical starting point: FDM parts are usually safe from about 1.2–2 mm (two to four perimeters); SLA/DLP resin parts typically want 1.5–3 mm because thin resin walls cup, warp or crack; SLS nylon can go thinner, around 1 mm, but 1.5–2 mm is a safer default for handling. Larger parts and load-bearing parts need thicker walls. After you hollow, always verify the real wall with the wall-thickness analysis tool — a simple inward offset does not guarantee a perfectly uniform wall everywhere.
A fully closed hollow part traps uncured resin (or unsintered powder) inside the cavity. On resin printers this trapped liquid adds weight, can leak later, and the sealed cavity can build a vacuum that pulls the part off the plate or even cracks it. For SLA/DLP, add one or two drain holes (commonly 2–4 mm) at the lowest points so resin can flow out during printing and washing. This hollowing tool generates the shell; cut the drain holes in your CAD or slicer, then re-check the file. SLS powder parts similarly need an escape hole so loose powder can be removed.
The tool welds your mesh into a clean outer surface, computes an area-weighted normal at every vertex, and offsets each vertex inward along that normal by your wall thickness to build an inner surface. The inner faces are wound in reverse so their normals point into the cavity, and the inner and outer surfaces are combined into a single hollow shell that exports as a binary STL.
This vertex-normal inward offset is fast and accurate for convex and blocky shapes, but it is a simple offset, not a true uniform-wall medial-axis hollow. On thin walls or sharply concave regions the inner surface can self-intersect when the wall thickness approaches half the local feature size, and the wall is not perfectly uniform near corners. That is why we recommend repairing the result and running a wall-thickness check before printing — or, for complex production parts, letting iamRapid prepare the file for you.
Upload your CAD file and get an instant 3D printing quote in under 60 seconds.
Get Instant Quote