

-
How it works

-
Industries
-
Services
-
Material
-
Company
-
Resources


FDM vs SLA vs SLS vs MJF vs DMLS vs PolyJet -- side-by-side comparison of accuracy, strength, surface finish, materials, speed, and cost to help you select the right technology for your project.
Compare key performance metrics across all six 3D printing technologies available at IamRapid.
Scroll horizontally to view all technologies →
| Specification | FDMFused Deposition Modeling | SLAStereolithography | SLSSelective Laser Sintering | MJFMulti Jet Fusion | DMLSDirect Metal Laser Sintering | PolyJetPhotopolymer Jetting |
|---|---|---|---|---|---|---|
| Accuracy / Tolerance | ± 0.5 mm | ± 0.1 mm | ± 0.3 mm | ± 0.2 mm | ± 0.1 mm | ± 0.1 mm |
| Min Wall Thickness | 0.8 mm | 0.5 mm | 0.7 mm | 0.5 mm | 0.4 mm | 0.6 mm |
| Max Build Volume | 900 x 600 x 900 mm | 335 x 200 x 300 mm | 340 x 340 x 600 mm | 380 x 284 x 380 mm | 250 x 250 x 325 mm | 490 x 390 x 200 mm |
| Surface Finish (Ra) | 15 - 25 μm | 2 - 4 μm | 8 - 12 μm | 6 - 10 μm | 8 - 15 μm | 1 - 2 μm |
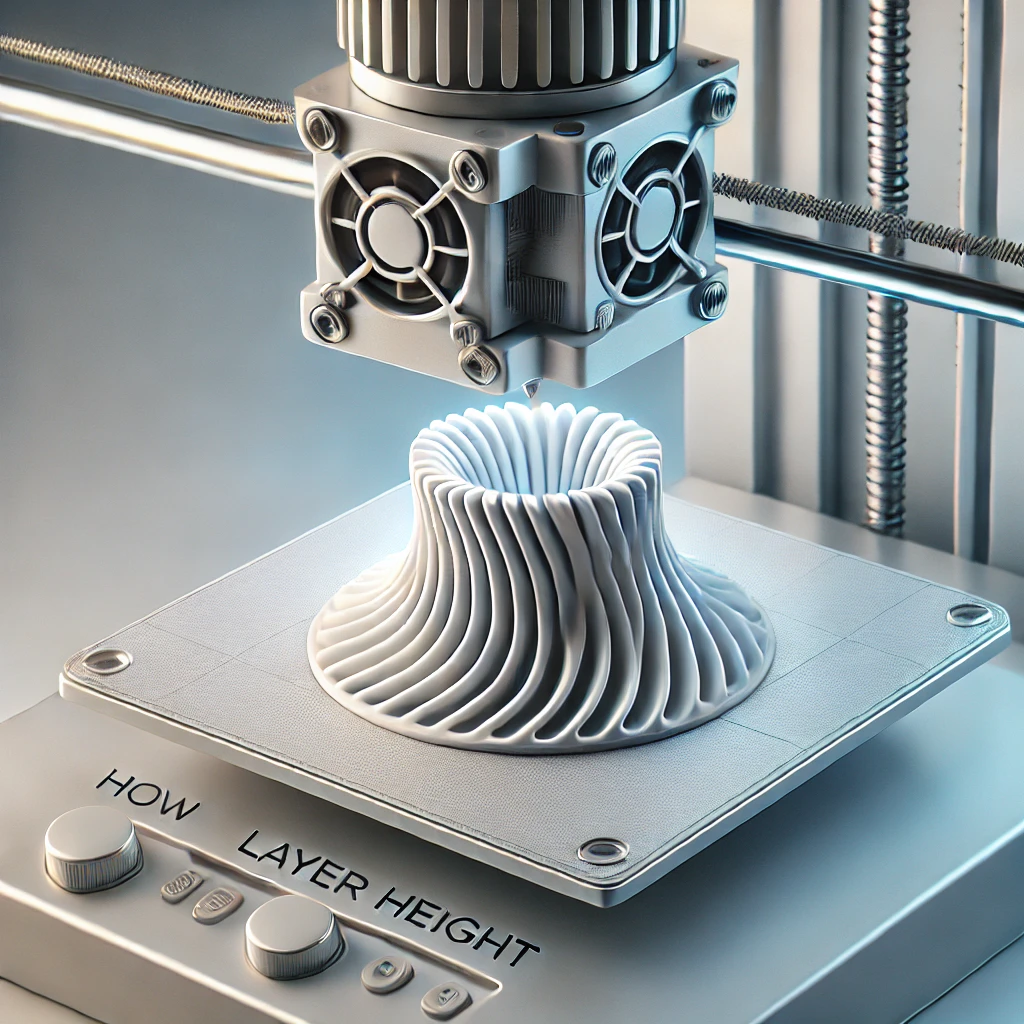
| Layer Height Range | 50 - 400 μm | 25 - 100 μm | 80 - 120 μm | 80 μm | 20 - 60 μm | 16 - 32 μm |
| Material Options | 15+ (PLA, ABS, PETG, Nylon, TPU, etc.) | 12+ (ABS-like, Tough, Flexible, Castable Resins) | 5+ (PA12, PA11, Glass-filled Nylon) | 3+ (PA12, PA12GB, PA11) | 4+ (Aluminium, Titanium, Stainless Steel) | 6+ (Vero, Tango, Agilus, Digital ABS) |
| Tensile Strength | 36 - 85 MPa (varies by material) | 38 - 65 MPa | 48 MPa (PA12) | 48 - 50 MPa (PA12) | 350 - 1,100 MPa (metal-dependent) | 50 - 65 MPa |
| Print Speed | 50 - 150 mm/s | 25 - 50 mm/s | 48 mm/s (laser scan) | Whole-layer fusing (fastest batch) | 10 - 30 mm/s (laser scan) | Up to 6 layers/min |
| Support Structures | Required (breakaway or soluble) | Required (photopolymer supports) | Not required (powder self-supporting) | Not required (powder self-supporting) | Required (metal supports, CNC removed) | Required (soluble wax supports) |
| Typical Lead Time | 2 - 3 days | 2 - 4 days | 3 - 5 days | 3 - 5 days | 5 - 10 days | 3 - 5 days |
| Price Range | Low | Medium | Medium | Medium | High | High |
| Best For | Rapid prototyping, functional testing, jigs & fixtures | Detailed visual models, jewellery masters, dental models | Functional parts, batch production, complex geometries | Production-grade parts, consistent batches, snap-fits | Metal prototypes, aerospace components, tooling inserts | Multi-material prototypes, overmoulding simulation, visual models |
Match your project requirements to the right 3D printing process. Here are the most common scenarios and our recommendations.
FDM offers the fastest turnaround and lowest cost per part. Ideal for form-fit testing and iterative design cycles where fine surface detail is secondary to speed and affordability.
SLA produces highly detailed parts with smooth surfaces, making it ideal for presentation models, master patterns for casting, and applications requiring fine feature resolution down to 0.1 mm.
MJF produces nylon parts with consistent isotropic mechanical properties, making them suitable for functional end-use applications. SLS is an excellent alternative with broader material options.
Both MJF and SLS are support-free powder bed processes that allow dense nesting of parts, making them cost-effective for batch production runs of 50 to 5,000+ units.
DMLS is the only metal 3D printing technology in our offering. It produces fully dense metal parts in aluminium, titanium, and stainless steel with mechanical properties comparable to conventionally manufactured metals.
PolyJet is uniquely capable of printing with multiple materials simultaneously in a single build. This enables parts with varying rigidity, colour, and transparency -- ideal for overmould simulation and realistic prototypes.
PolyJet offers the widest range of Shore A hardness values (27A to 95A) using Agilus and Tango materials. For simpler flexible parts, FDM with TPU 95A filament is a more cost-effective option.
FDM supports the largest build volumes (up to 900 x 600 x 900 mm on industrial machines), making it the go-to choice for large enclosures, housings, and architectural models.
Every 3D printing technology has trade-offs. Understanding these helps you make an informed choice for your specific application.
Fused Deposition Modeling
Lowest cost per part among all technologies. Widest material selection including engineering-grade thermoplastics like Nylon, PETG, and carbon-fibre composites. Largest available build volumes for oversized parts.
Visible layer lines result in rougher surface finishes compared to resin-based processes. Anisotropic strength (weaker along the Z-axis). Requires support structures for overhangs greater than 45 degrees.
Stereolithography
Exceptional surface finish and fine feature detail with layer heights as low as 25 microns. Broad range of specialty resins including castable, biocompatible, and high-temperature formulations. Excellent dimensional accuracy.
Parts can be brittle compared to thermoplastics and may degrade with prolonged UV exposure. Requires post-curing and support removal, adding to turnaround time. Smaller build volumes than FDM or SLS.
Selective Laser Sintering
No support structures needed -- unfused powder supports the part during printing, enabling complex geometries and interlocking assemblies. Produces durable, functional parts with good mechanical properties in engineering-grade nylon.
Parts have a slightly grainy, matte surface texture that may require post-processing for cosmetic applications. Limited to powder-based materials (primarily nylons). Longer cool-down cycles can extend lead times.
Multi Jet Fusion
Faster print speeds than SLS due to the agent-based fusing process. Produces parts with highly consistent and isotropic mechanical properties. Excellent for batch production with high part density per build.
More limited material selection compared to SLS (primarily PA12 and PA12 with glass beads). Default part colour is grey or black, limiting cosmetic options without dyeing or painting. Fine text below 0.5 mm may not resolve clearly.
Direct Metal Laser Sintering
Produces fully dense metal parts with mechanical properties matching wrought or cast metals. Enables complex internal channels, lattice structures, and topologically optimised geometries impossible with traditional machining.
Highest cost among all 3D printing technologies due to expensive metal powders and slow build speeds. Requires extensive post-processing including support removal, heat treatment, and often CNC finishing. Smaller build volumes.
Photopolymer Jetting
Finest layer resolution (16 microns) and smoothest surface finish of any polymer technology. Unique ability to print multiple materials with different colours and shore hardness values in a single build. Ideal for realistic prototypes.
Parts have lower heat resistance and mechanical strength compared to thermoplastics, making them less suitable for functional testing under load. Higher cost per part. Photopolymer materials can yellow or become brittle over time.
Common questions about choosing the right 3D printing technology for your project.
FDM (Fused Deposition Modeling) is the most affordable 3D printing technology. It uses low-cost thermoplastic filaments such as PLA, ABS, and PETG, and the machines themselves are the most economical among professional-grade systems. FDM is ideal for rapid prototyping and functional testing where ultra-fine surface finish is not a primary concern.
DMLS (Direct Metal Laser Sintering) produces the strongest parts since it prints in metals such as aluminium, titanium, and stainless steel. For polymer parts, MJF and SLS produce the most mechanically robust components using engineering-grade nylon (PA12, PA11), with consistent isotropic properties and high tensile strength.
PolyJet delivers the smoothest as-printed surface finish among polymer technologies, achieving Ra values as low as 1-2 microns. SLA is a close second, producing smooth surfaces with Ra values of 2-4 microns. Both technologies are ideal for visual prototypes, master patterns, and presentation models.
Yes, several 3D printing technologies produce parts suitable for end-use production. MJF and SLS are commonly used for low-to-mid volume production of functional plastic parts. DMLS produces production-grade metal components used in aerospace, automotive, and medical applications. The choice depends on volume, material requirements, and mechanical specifications.
Both SLS and MJF produce strong, functional nylon parts and do not require support structures. MJF generally offers faster print speeds and more consistent mechanical properties across all axes (more isotropic). SLS provides a wider range of material options, including glass-filled and flame-retardant nylons. For high-volume production runs, MJF tends to be more cost-effective due to its faster build speeds.
SLA uses a UV laser to cure liquid photopolymer resin one layer at a time, while PolyJet jets droplets of photopolymer resin and cures them with UV light simultaneously. PolyJet can print with multiple materials in a single build, enabling multi-colour and multi-durometer parts. SLA generally offers a wider range of engineering resins and is more cost-effective for single-material parts.
DMLS (Direct Metal Laser Sintering) is the leading technology for metal 3D printing. It uses a high-powered laser to fuse metal powder particles layer by layer, producing fully dense metal parts in materials such as Aluminium (AlSi10Mg), Titanium (Ti6Al4V), and Stainless Steel. DMLS parts achieve mechanical properties comparable to wrought or cast metals.
Print time varies significantly by technology, part size, and complexity. FDM parts typically take 2-24 hours for moderate-sized parts. SLA and PolyJet can range from 1-12 hours. SLS and MJF batches typically complete in 12-24 hours but can print many parts simultaneously. DMLS metal prints often take 8-48 hours. At IamRapid, standard lead times range from 2-5 business days including post-processing.
Yes, SLA is significantly more accurate than FDM. SLA achieves dimensional tolerances of ± 0.1 mm and layer heights as fine as 25 microns, while FDM typically holds ± 0.5 mm with layer heights of 50-400 microns. SLA also produces smoother surface finishes (Ra 2-4 μm versus 15-25 μm for FDM). For parts requiring tight tolerances or fine details, SLA is the better choice.
FDM is the cheapest 3D printing technology for most applications. FDM filaments such as PLA cost approximately Rs 1,500-2,500 per kilogram, and the per-part cost is the lowest across all professional 3D printing processes. For small, highly detailed parts, SLA can also be cost-effective since resin usage is minimal. DMLS (metal printing) is the most expensive due to high material and machine costs.
It depends on the prototype requirements. FDM is better for functional prototyping where you need to test form, fit, and mechanical properties at the lowest cost with fast turnaround (2-3 days). SLA is better for visual prototyping, presentation models, and parts requiring fine detail, smooth surfaces, or tight dimensional accuracy. Many product development teams use FDM for early-stage iterations and switch to SLA for client-facing prototypes.
MJF (Multi Jet Fusion) is generally the fastest 3D printing technology for batch production, as it fuses an entire layer at once using infrared energy rather than tracing with a laser or extruder. For single small parts, FDM and SLA can deliver faster turnaround due to simpler setup requirements. DMLS is the slowest process, with individual parts requiring 8-48 hours of print time.
Detailed breakdowns of the most commonly compared 3D printing technologies to help you make an informed decision.
Cost-effective prototyping vs. precision detail
| Attribute | FDM | SLA |
|---|---|---|
| Accuracy | ± 0.5 mm | ± 0.1 mm |
| Surface Finish | 15-25 μm Ra (visible layer lines) | 2-4 μm Ra (smooth) |
| Materials | PLA, ABS, PETG, Nylon, TPU | ABS-like Resin, Tough Resin, Castable |
| Tensile Strength | 36-85 MPa | 38-65 MPa |
| Build Volume | Up to 900 x 600 x 900 mm | Up to 335 x 200 x 300 mm |
| Cost Per Part | Low | Medium |
| Lead Time | 2-3 days | 2-4 days |
| Post-Processing | Support removal, optional sanding | Wash, UV cure, support removal |
Verdict: Choose FDM for fast, affordable functional prototypes and large parts. Choose SLA when you need fine detail, smooth surfaces, or tight dimensional accuracy for visual models and master patterns.
Two powder-bed processes for functional production parts
| Attribute | SLS | MJF |
|---|---|---|
| Accuracy | ± 0.3 mm | ± 0.2 mm |
| Surface Finish | 8-12 μm Ra | 6-10 μm Ra |
| Primary Material | PA12, PA11, Glass-filled Nylon | PA12, PA12GB, PA11 |
| Tensile Strength (PA12) | 48 MPa | 48-50 MPa |
| Isotropy | Near-isotropic | Highly isotropic |
| Batch Speed | Moderate (laser-based) | Fast (whole-layer fusing) |
| Material Variety | Broader (5+ powders) | Narrower (3 main powders) |
| Support Structures | None needed | None needed |
Verdict: Choose SLS when you need specialty powders (glass-filled, flame-retardant) or white parts. Choose MJF for high-volume production runs where speed, consistency, and per-part cost matter most.
Resin-based precision -- single material vs. multi-material
| Attribute | SLA | PolyJet |
|---|---|---|
| Accuracy | ± 0.1 mm | ± 0.1 mm |
| Layer Height | 25-100 μm | 16-32 μm (finest available) |
| Surface Finish | 2-4 μm Ra | 1-2 μm Ra (smoothest) |
| Multi-Material | Single material per build | Multiple materials and colours per build |
| Shore Hardness Range | Limited (rigid resins only) | 27A to 95A (wide range) |
| Engineering Resins | Broad range (castable, bio, high-temp) | Limited engineering options |
| Cost Per Part | Medium | High |
Verdict: Choose SLA for cost-effective, single-material parts with excellent detail and a wide range of engineering resins. Choose PolyJet when you need multi-material parts, overmould simulation, or the absolute smoothest surface finish.
Explore the specific materials available for each 3D printing technology at IamRapid.
Upload your 3D model and get an instant quote across all available technologies. Our team can also recommend the best technology for your project.
Get an Instant Quoteor contact our engineering team for expert guidance


