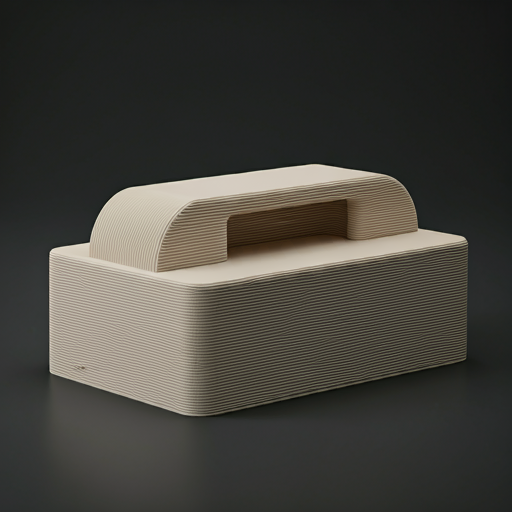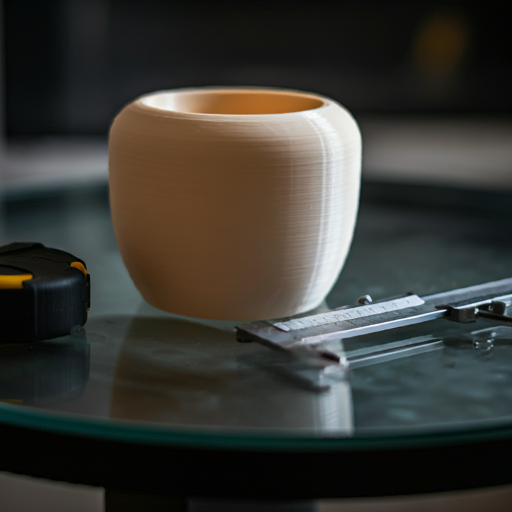
Introduction to Post Processing SLA Printed Parts
Post-processing SLA printed parts is essential for achieving optimal mechanical strength, aesthetic quality, and functionality. The process begins with removing the support structures used during printing, followed by washing to clean off any uncured resin. Post-curing the part under UV light ensures it reaches its full mechanical properties. Subsequent steps include sanding and polishing to achieve a smooth surface finish, and optionally, painting or coating for enhanced appearance and specific functional properties. Proper post-processing transforms SLA prints from raw outputs into finished products suitable for a wide range of applications.
By meticulously following these post-processing steps, you can significantly improve the quality and durability of your SLA printed parts. Support removal should be done carefully to avoid damaging the part, while washing and curing must be thorough to ensure the resin is fully cured. Sanding and polishing require patience and precision for the best finish, and painting or coating should be applied in thin, even layers for optimal results. These post-processing techniques are crucial for maximizing the potential of SLA 3D printing technology.

In this article, we will go deep into the post processes.
Post - Process
Various steps in post process of SLA 3d print
- Support Removal
- Sanding
- Priming
- Spray Paint
- Mineral Oil Finish
- Media Blasting
- Polished to Clear Transparent Finish
1. Support Removal
Support removal is the first critical step in post-processing SLA printed parts. During the printing process, support structures are essential for maintaining the geometry and integrity of complex designs. However, once printing is complete, these supports must be carefully removed to avoid damaging the part. Start by gently breaking away larger supports using tools like needle-nose pliers or clippers. It's important to work slowly and methodically, especially around delicate areas, to prevent breaking or marring the surface of the part. If necessary, use a hobby knife for precision in tight spots.
After the bulk of the supports are removed, the next step is to smooth out the attachment points. Lightly sand these areas with fine-grit sandpaper to blend them into the rest of the part’s surface. For parts with intricate details, using micro-files or precision sanding tools can help achieve a smooth finish without compromising the part’s design. Proper support removal not only improves the part’s appearance but also ensures it is ready for subsequent post-processing steps such as washing, curing, and final finishing.
Note : For critical vertical holes drilling after printing is recommended ,or else there will be stair stepping occurring in those areas.

2. Sanding
Sanding is a vital step in post-processing SLA printed parts to achieve a smooth and polished surface. Begin by selecting the appropriate sandpaper grit, typically starting with a coarse grit (around 200-400) to remove any noticeable layer lines or imperfections left from support removal. Wet sanding is often recommended as it reduces dust and helps achieve a finer finish. Using gentle, circular motions, you have to sand the entire surface of the part evenly. Be cautious around delicate features to avoid excessive material removal. For intricate areas, small sanding tools or files can help reach tight spots without damaging the details.
Once the initial sanding is complete, progressively move to finer grits (600-1200) to further smooth the surface. Wet sanding with these finer grits will help achieve a more polished look. After each stage, thoroughly clean the part to remove any sanding residue. For an even higher level of polish, you can finish with a very fine grit (1500-2000) or use polishing compounds. The goal is to create a consistent, smooth surface that enhances the aesthetic and functional qualities of the printed part. Proper sanding not only improves the part's appearance but also prepares it for any additional post-processing steps such as painting or coating.

Note: Wet sanding can be applied as it gives a better result and more smooth surface.
3. Priming
The SLA printing process begins with the creation of a 3D model using CAD software, which is then sliced into thin layers using specialized software. This sliced file is uploaded to the SLA printer, where a laser selectively cures liquid resin layer by layer, starting from the bottom and moving upwards. The printer's build platform gradually lifts, allowing each new layer of resin to be cured and solidified. The precision of the laser and the properties of the resin result in high-resolution prints with fine details and smooth surfaces. During printing, support structures are generated to uphold overhangs and complex geometries, ensuring the part's integrity throughout the process.
Once the print is complete, the build platform is raised out of the resin vat, revealing the fully formed part. The part is then carefully removed from the build platform, often with the aid of a scraper. It's crucial to handle the part gently at this stage to avoid any damage, as the resin is still relatively soft. The printed part, along with its support structures, will then undergo post-processing steps such as support removal, washing, curing, and sanding to achieve the desired final properties and appearance. The precision and detail achievable with SLA printing make it a preferred choice for applications requiring high accuracy and fine finishes

4. Spray Paint
Spray painting SLA printed parts is an effective way to enhance their appearance and provide a smooth, uniform finish. Begin by ensuring the part is clean and free of any dust or debris, which can be done by gently wiping it with a lint-free cloth. Apply a primer specifically designed for plastic or resin to help the paint adhere better and to smooth out any minor surface imperfections. Hold the spray can about 6-8 inches away from the part and apply the primer in thin, even coats, allowing each coat to dry completely before applying the next. This helps to prevent drips and ensures a smooth base for the paint.
Once the primer is fully dry, you can proceed with the spray paint. Choose a paint that is compatible with plastic or resin for the best results. Apply the paint in multiple thin coats, just as you did with the primer, holding the can at the same distance and using sweeping motions to cover the part evenly. Allow each coat to dry thoroughly before applying the next to avoid runs and ensure a smooth finish. After the final coat of paint has dried, you can apply a clear topcoat for added durability and a glossy finish. This topcoat also helps to protect the painted surface from scratches and wear, preserving the appearance of your SLA printed part.

Note : We recommend you to paint evenly and uniformly by rotating it which will help to give a more uniform surface.
5. Mineral Oil Finish

Applying a mineral oil finish to SLA printed parts can enhance their appearance by giving them a smooth, glossy look. To begin, ensure the part is clean and free of any dust or debris by wiping it with a lint-free cloth. If the part has been sanded, make sure it is thoroughly cleaned to remove any sanding residue. Pour a small amount of mineral oil onto a clean, soft cloth and gently rub it onto the surface of the part in circular motions. The oil will penetrate the surface, bringing out a rich color and a subtle sheen. Be sure to cover all areas evenly, including any intricate details.
After applying the mineral oil, let the part sit for a few minutes to allow the oil to absorb into the material. Then, use a dry, clean cloth to buff the surface, removing any excess oil and enhancing the shine. This final buffing step helps to create a smooth, glossy finish that highlights the detail and quality of the SLA print. The mineral oil finish not only improves the aesthetic appeal but also provides a slight protective layer, making the part feel smoother and more pleasant to the touch. Reapply the mineral oil periodically to maintain the finish, especially if the part is handled frequently.
6. Media Blasting

Media blasting is an effective post-processing technique used to smooth and clean SLA printed parts, as well as to create a uniform matte finish. The process involves propelling fine abrasive media, such as glass beads, aluminum oxide, or plastic beads, at the surface of the part using compressed air. This abrasive action removes any remaining support marks, layer lines, and surface imperfections, resulting in a smoother and more consistent finish. Before starting, ensure the part is securely positioned and protected areas that should not be blasted. It’s important to choose the appropriate blasting media and pressure settings to avoid damaging delicate features or over-abrading the surface.
The process begins by placing the part in a blasting cabinet and directing the media stream evenly across the surface. Move the blasting nozzle in smooth, consistent motions to achieve uniform coverage, paying extra attention to areas with noticeable imperfections. The duration and intensity of the blasting should be controlled to achieve the desired finish without eroding fine details. After blasting, clean the part thoroughly to remove any residual media particles. The result is a clean, matte finish that can enhance the appearance and tactile quality of the SLA printed part, making it ready for further finishing steps like painting or coating if desired.
7. Polished to Clear Transparent Finish
Achieving a clear, transparent finish on SLA printed parts involves several meticulous steps to smooth and polish the surface. Start by removing any support structures and sanding the part with progressively finer grits of sandpaper. Begin with a coarse grit (200-400) to eliminate visible layer lines and imperfections, then move to medium grits (600-800) for further smoothing. Wet sanding is highly recommended to minimize dust and achieve a finer finish. Continue sanding with increasingly finer grits (1000-2000) until the surface is smooth and free of scratches.
After thorough sanding, polishing compounds can be used to enhance the transparency. Apply a plastic or resin polish with a soft cloth, using gentle, circular motions to buff the surface. For best results, use a multi-step polishing system, starting with a coarse polish and finishing with a fine polish. An electric rotary tool with a polishing attachment can expedite this process and provide a more uniform finish. Ensure that the part is clean and free of any polish residue between steps by rinsing it with water and drying it with a lint-free cloth.
For an even clearer finish, consider using a UV curing process after polishing. Place the part under a UV light source to cure any remaining resin and enhance its optical clarity. Finally, a clear coat or resin dip can be applied to further smooth the surface and protect the finish. This coat should be thin and even, allowing it to cure completely for the best transparency. The result is a polished, clear, and transparent SLA printed part that showcases the precision and detail of the original print.

Note : Not possible with complex parts or geometries.
Conclusion
Post-processing is a crucial aspect of working with SLA printed parts, transforming them from raw prints into polished, functional, and aesthetically pleasing final products. By carefully following each step—support removal, washing, curing, sanding, polishing, and optional finishing techniques like spray painting or achieving a clear transparent finish—you can significantly enhance the quality and durability of your prints. Each stage requires attention to detail and patience, but the effort pays off in the form of superior end results.
Mastering these post-processing techniques not only improves the appearance and performance of your SLA prints but also expands their potential applications. Whether you're creating prototypes, final products, or intricate models, thorough post-processing ensures your parts meet the highest standards. With practice and the right tools, you can achieve professional-level finishes that highlight the precision and capabilities of SLA printing technology. By investing time and care into post-processing, you unlock the full potential of your 3D printed creations, making them ready for any purpose you envision.
For any further questions about how post-processing impacts For any further questions about how post-processing impacts SLA 3D-printed parts, we invite you to visit our website. Understanding the critical roles of post-processing techniques such as support removal, washing, curing, sanding, polishing, painting, and achieving a clear transparent finish is essential for achieving superior quality parts tailored to your specific requirements. Whether your priority is achieving a flawless surface finish, enhancing mechanical properties, or adding functional coatings, selecting the appropriate post-processing methods ensures reliable performance and aesthetic appeal for your projects. If you're interested in exploring our post-processing services for SLA printed parts, please reach out to us at iamrapid. Share your preferences regarding surface finish, mechanical strength, or any specific requirements, and we'll assist you in finding the best solutions for your needs.
Feel free to share this informative content with others to deepen their understanding of how post-processing techniques contribute to successful applications of SLA 3D printing in various industries.


