
Complete account for product development Of Automatic Liquid Dispenser
Each stage of the product development has been meticulously and elaborately explained under the following sub sections:
Problem Statement
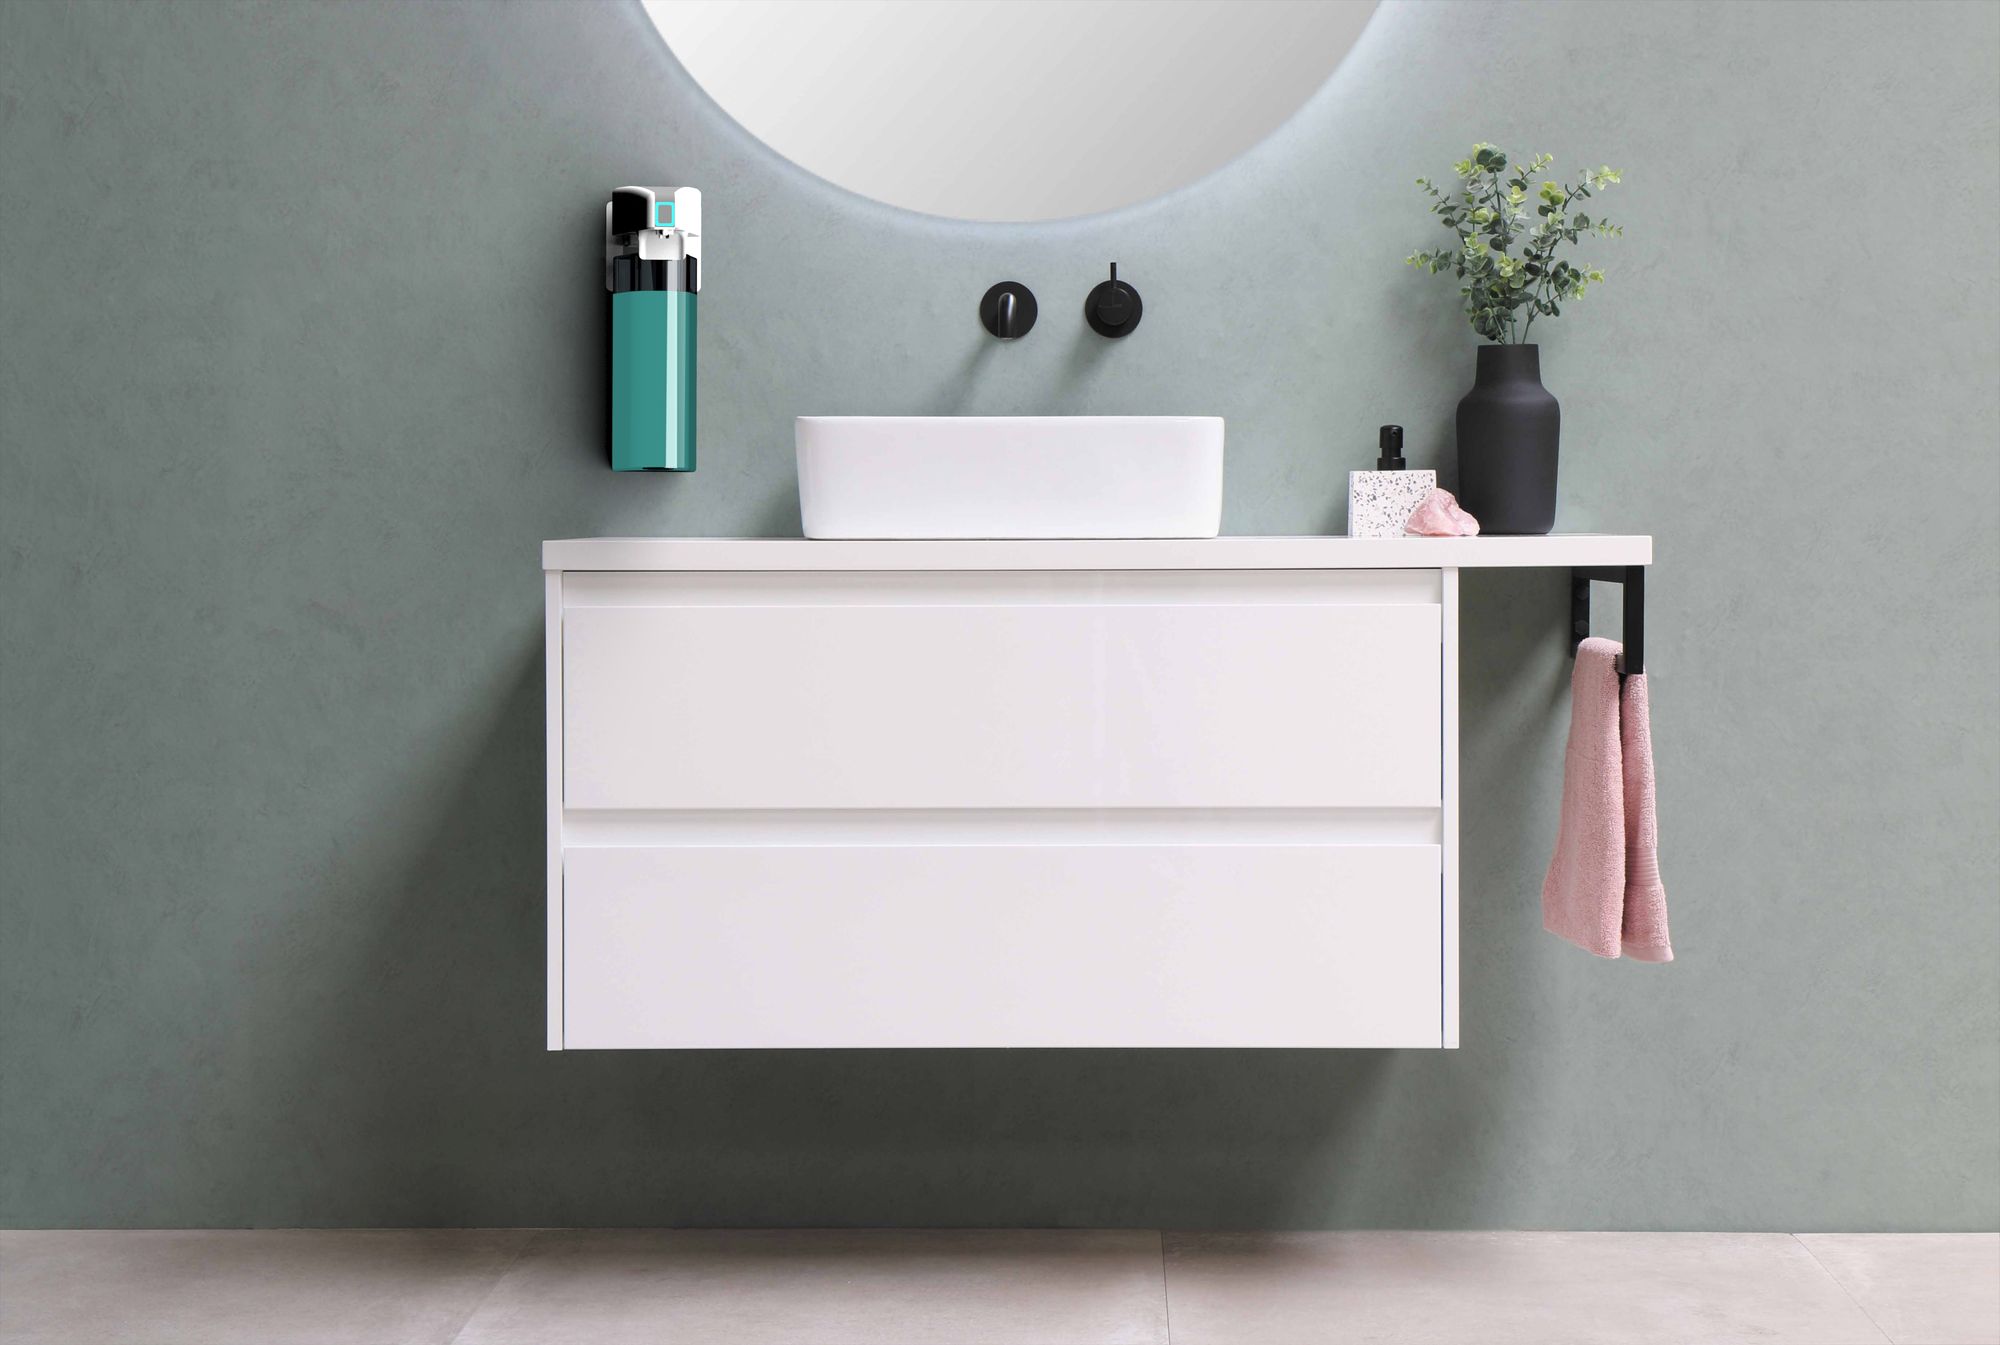
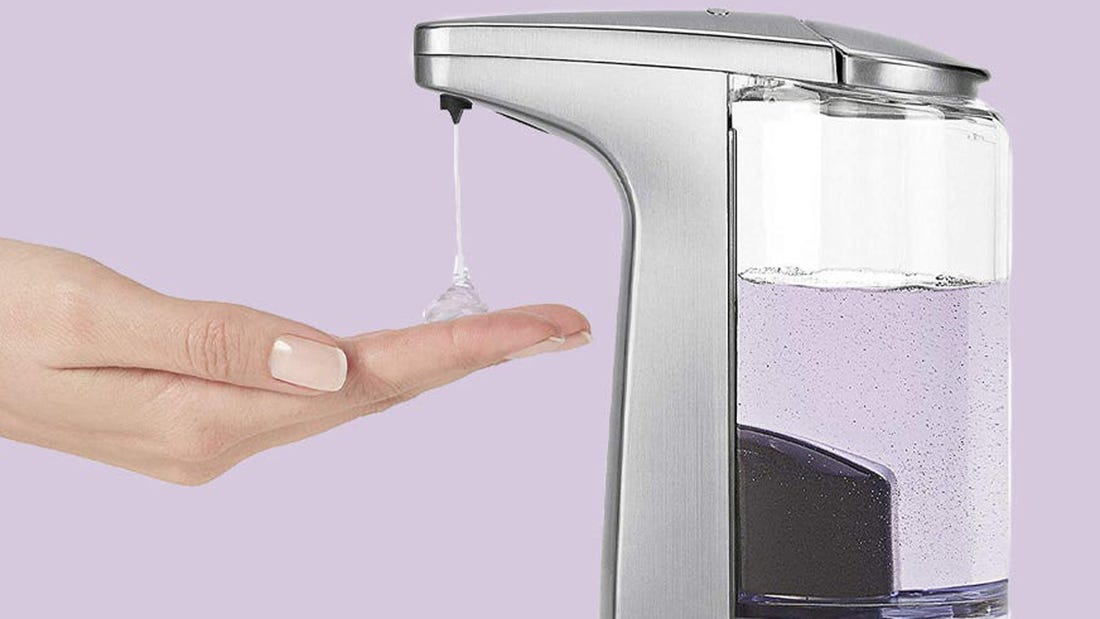
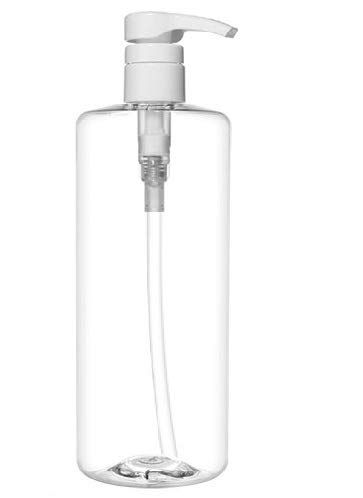
The customer requested for a Modular automatic Liquid dispenser , which worked to achieve the primarily goal of contact-less liquid dispensing.
It needed to have an option to be wall mounted as well as table mounted , so taht teh users could have a verstaile user experience.
Discussion with Client : 30 -45 mins
Requirement Gathering
The client wanted
- Modular design for the product with an option to be wall mounted as well as an option to be kept on any flat surface.
- Aesthatic Appeal
- Modern design
- Slim appearance
- Excellent fit and finish
- Zero leakages
Componants Needed :
- Li-Ion Battery
- Arduino Board Nano
- Peristaltic Pump
- IR sensors
- Control Buttons
These were the componants that the customer had in mind so that the product would be functional.
Componants that needed to be designed in-house:
- Inner Console
- External Housing
- Wall Mounts for Wall mounting
- Stand for placing on flat surface.
The client desired to get all in-house componants 3D printed from our facility.
After collecting all the necessary details about each componant that had to be used , we moved onto the next phase of our Product development.
Total time for Requirement Gathering: 1.5 to 2 hours
Market Research
According to the specifications provided by the client for the various , our team managed to find suitable options for the componants that could be used for the final product.
Available to be purchased direclty from e-commerce websites
Peristaltic motor
IR Sensor
Arduino nano boards
Battery
The auxillary parts such as tubes for liquid to flow, philip screws and mating screws for various mating operations were shorlisted .
All componants that were shorlisted were of desiarble quality and from reliable sources.
For all the parts that required In-House Printing we had to choose a suitable pritning technology that best suited the clienst requirement.
FDM
SLA
Injection Moulding
these were the options we had to achieve the same.
Taking into consideration all the parameters , printing technologies and shorlisted auxillary componanants our team moved to the next phase of teh product dvelopment process.
Overall , market research did not take much time as the client had provided us with all the necessary requirements and specifications they desired to see in the product.
Total time for Market Research : 45-60 mins
Feasibility Check
Since the client stressed on making the product aesthtically apleasing , modular and having a good response time . Choosing the right componnats and looking out for their feasibility before final selection is very important .
After looking into every shorlisted item for each componant, the criteria we had while choosing the right componants were:
- Price Range
- Reliability
- Availability
- Relative Comparison Among the shorlisted componants
- Compatibility
As for the printing tech , we had decided to go with SLA technology since , it proved to be a more reliable ooption for surface finish and dimensional accuracy when compared to FDM.
Injection moulding was not sleected since , the demand of products the client wanted were not ideal to be moulded using injection moulding.
Total Time For Feasibility Check: 2 hours
Features
Now it was time for us to go throught the additional features that could be incorporated to the final product , keeping the functionality , accessability and cost in mind.
Additional Features:
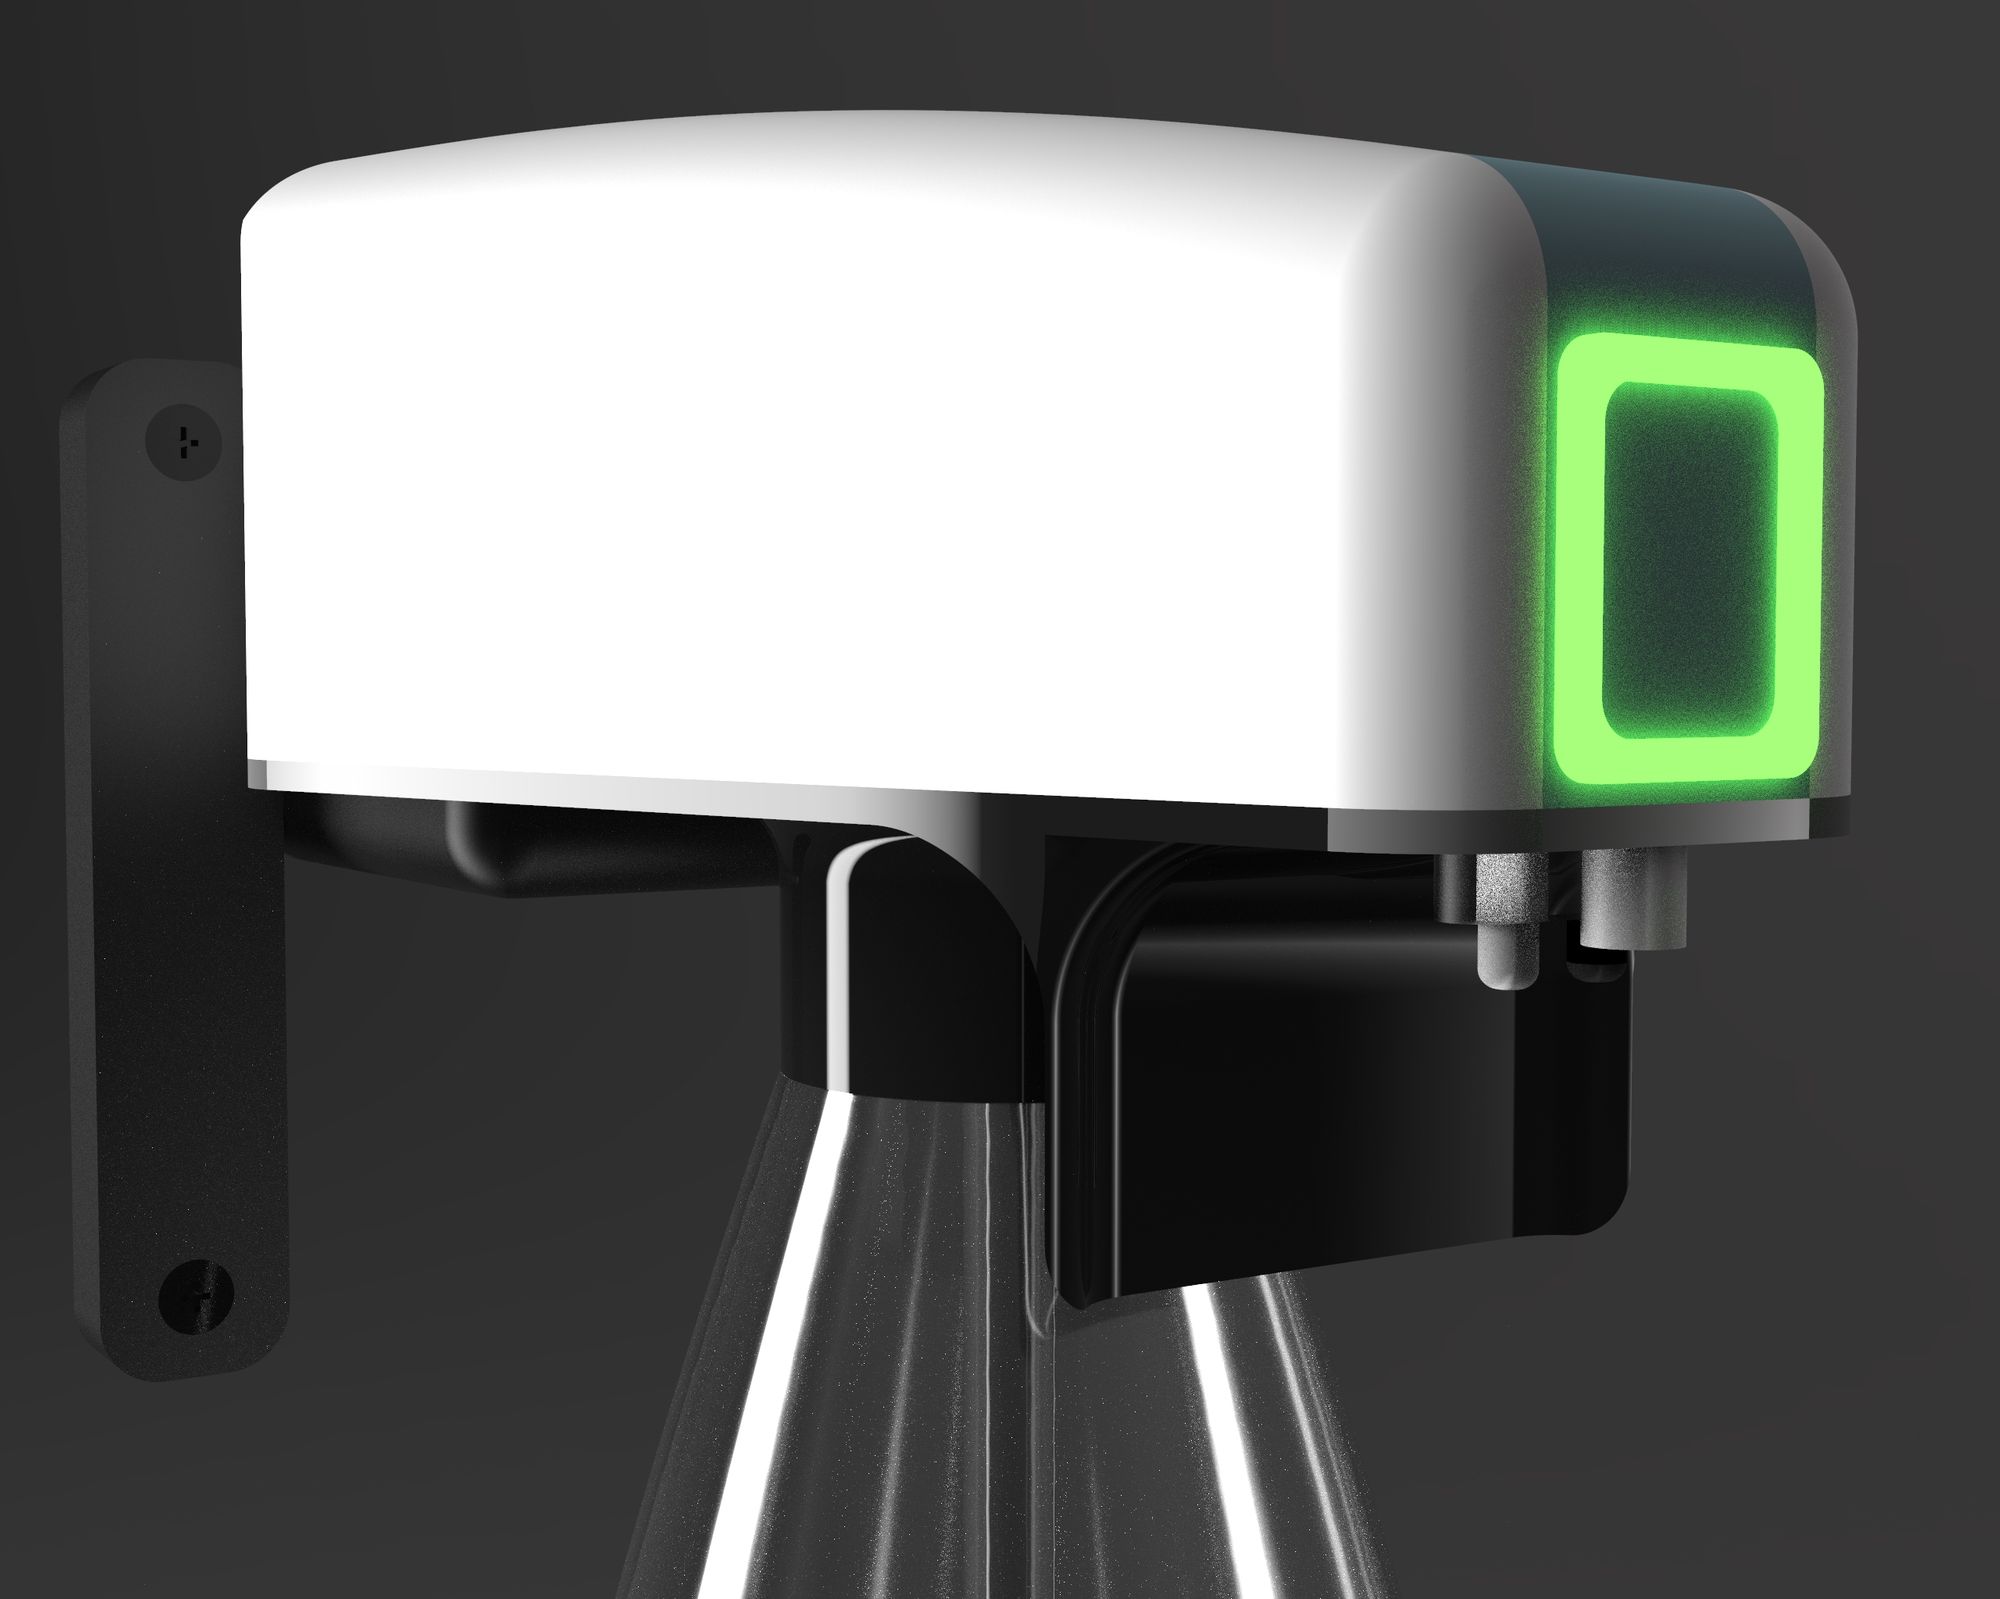
- LED Indicator
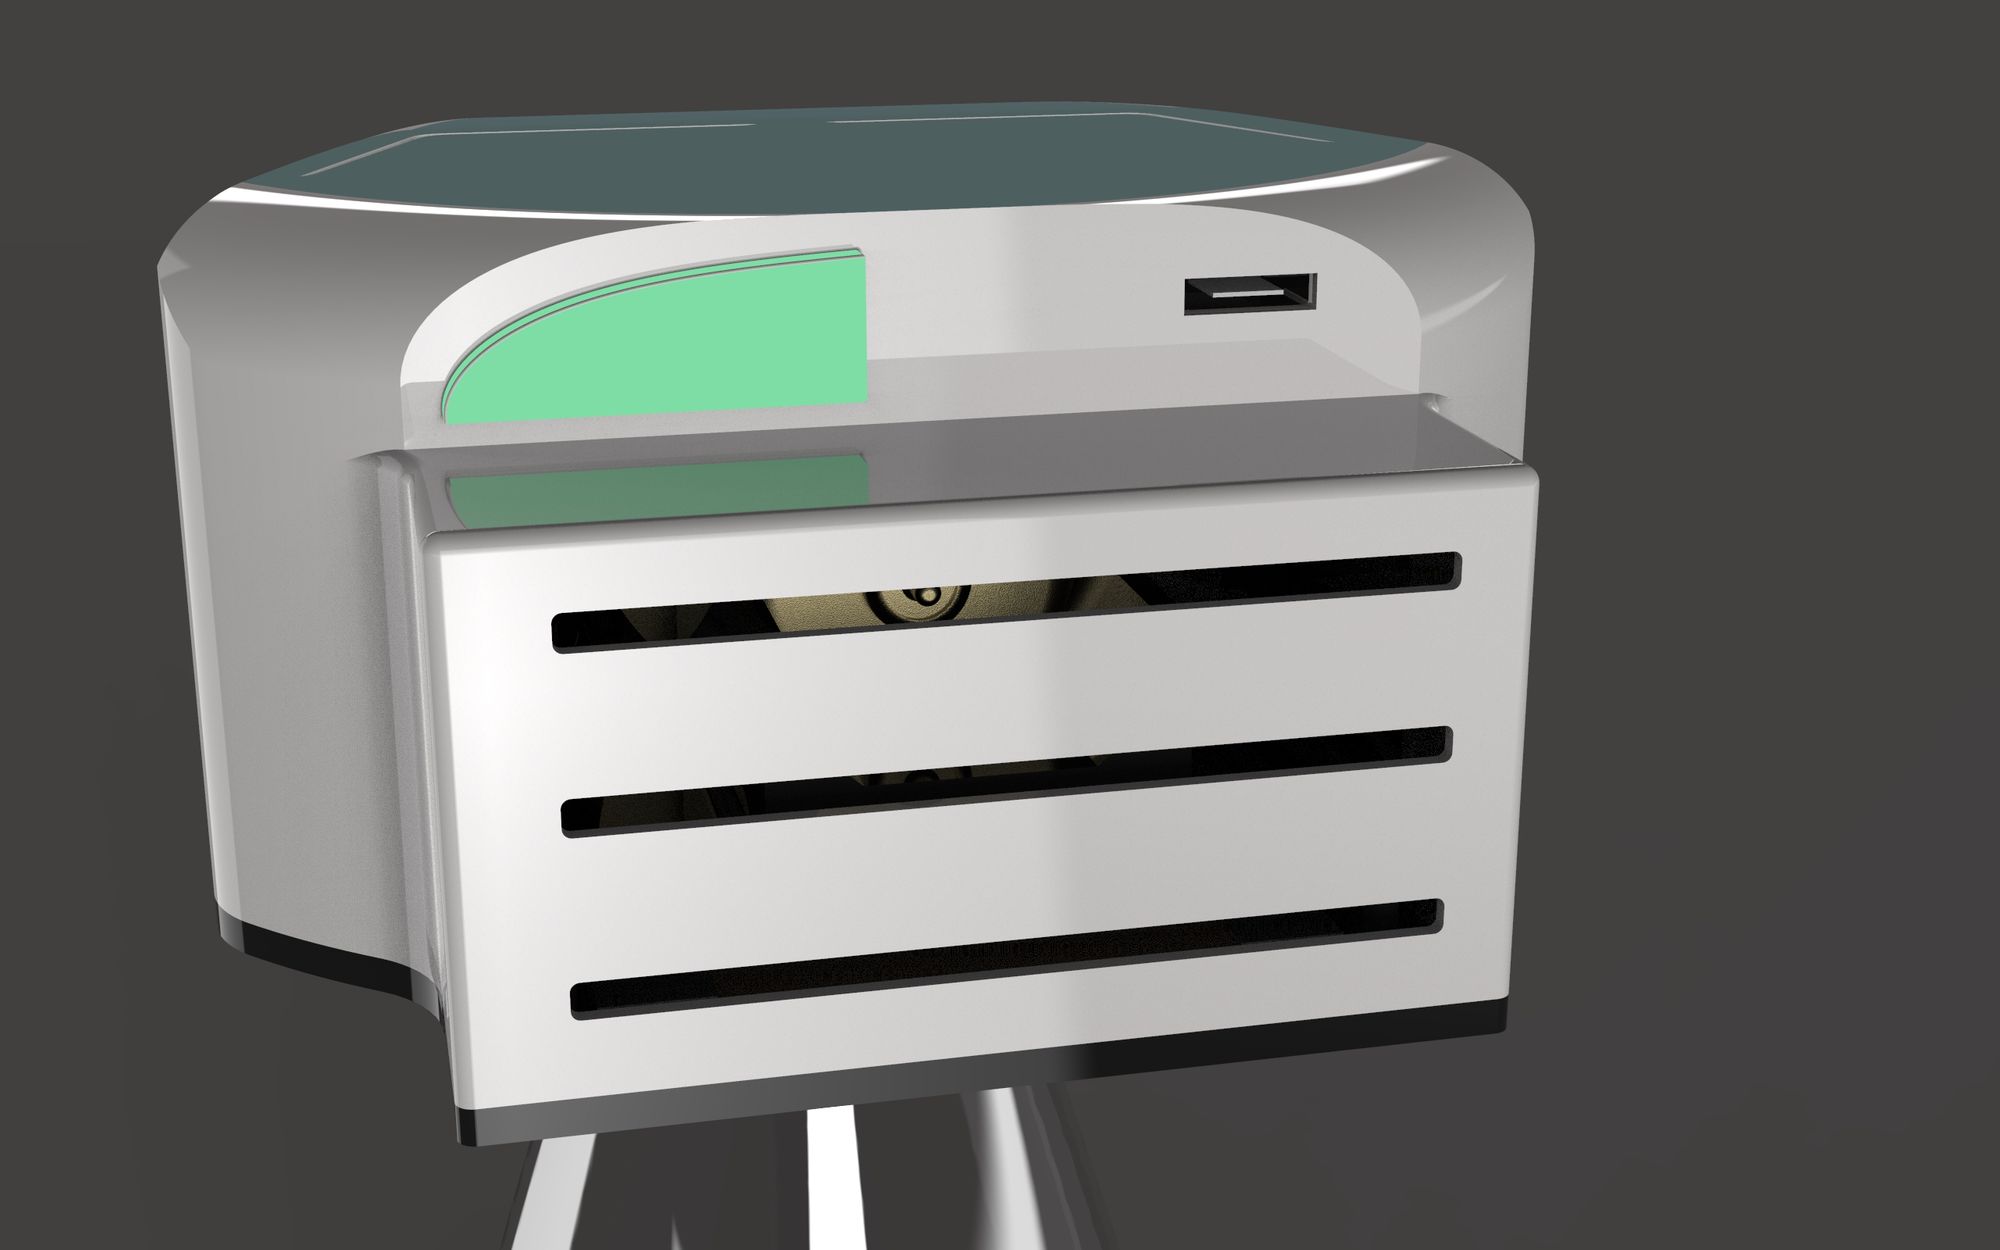
- Micro USB exteranl charging port
Mood Board
Design Phase
After all the componants have been finalised and the product feaures had been decided , the team moved onto the Design Phase.
The workFlow was divided as:
Primary Sketching
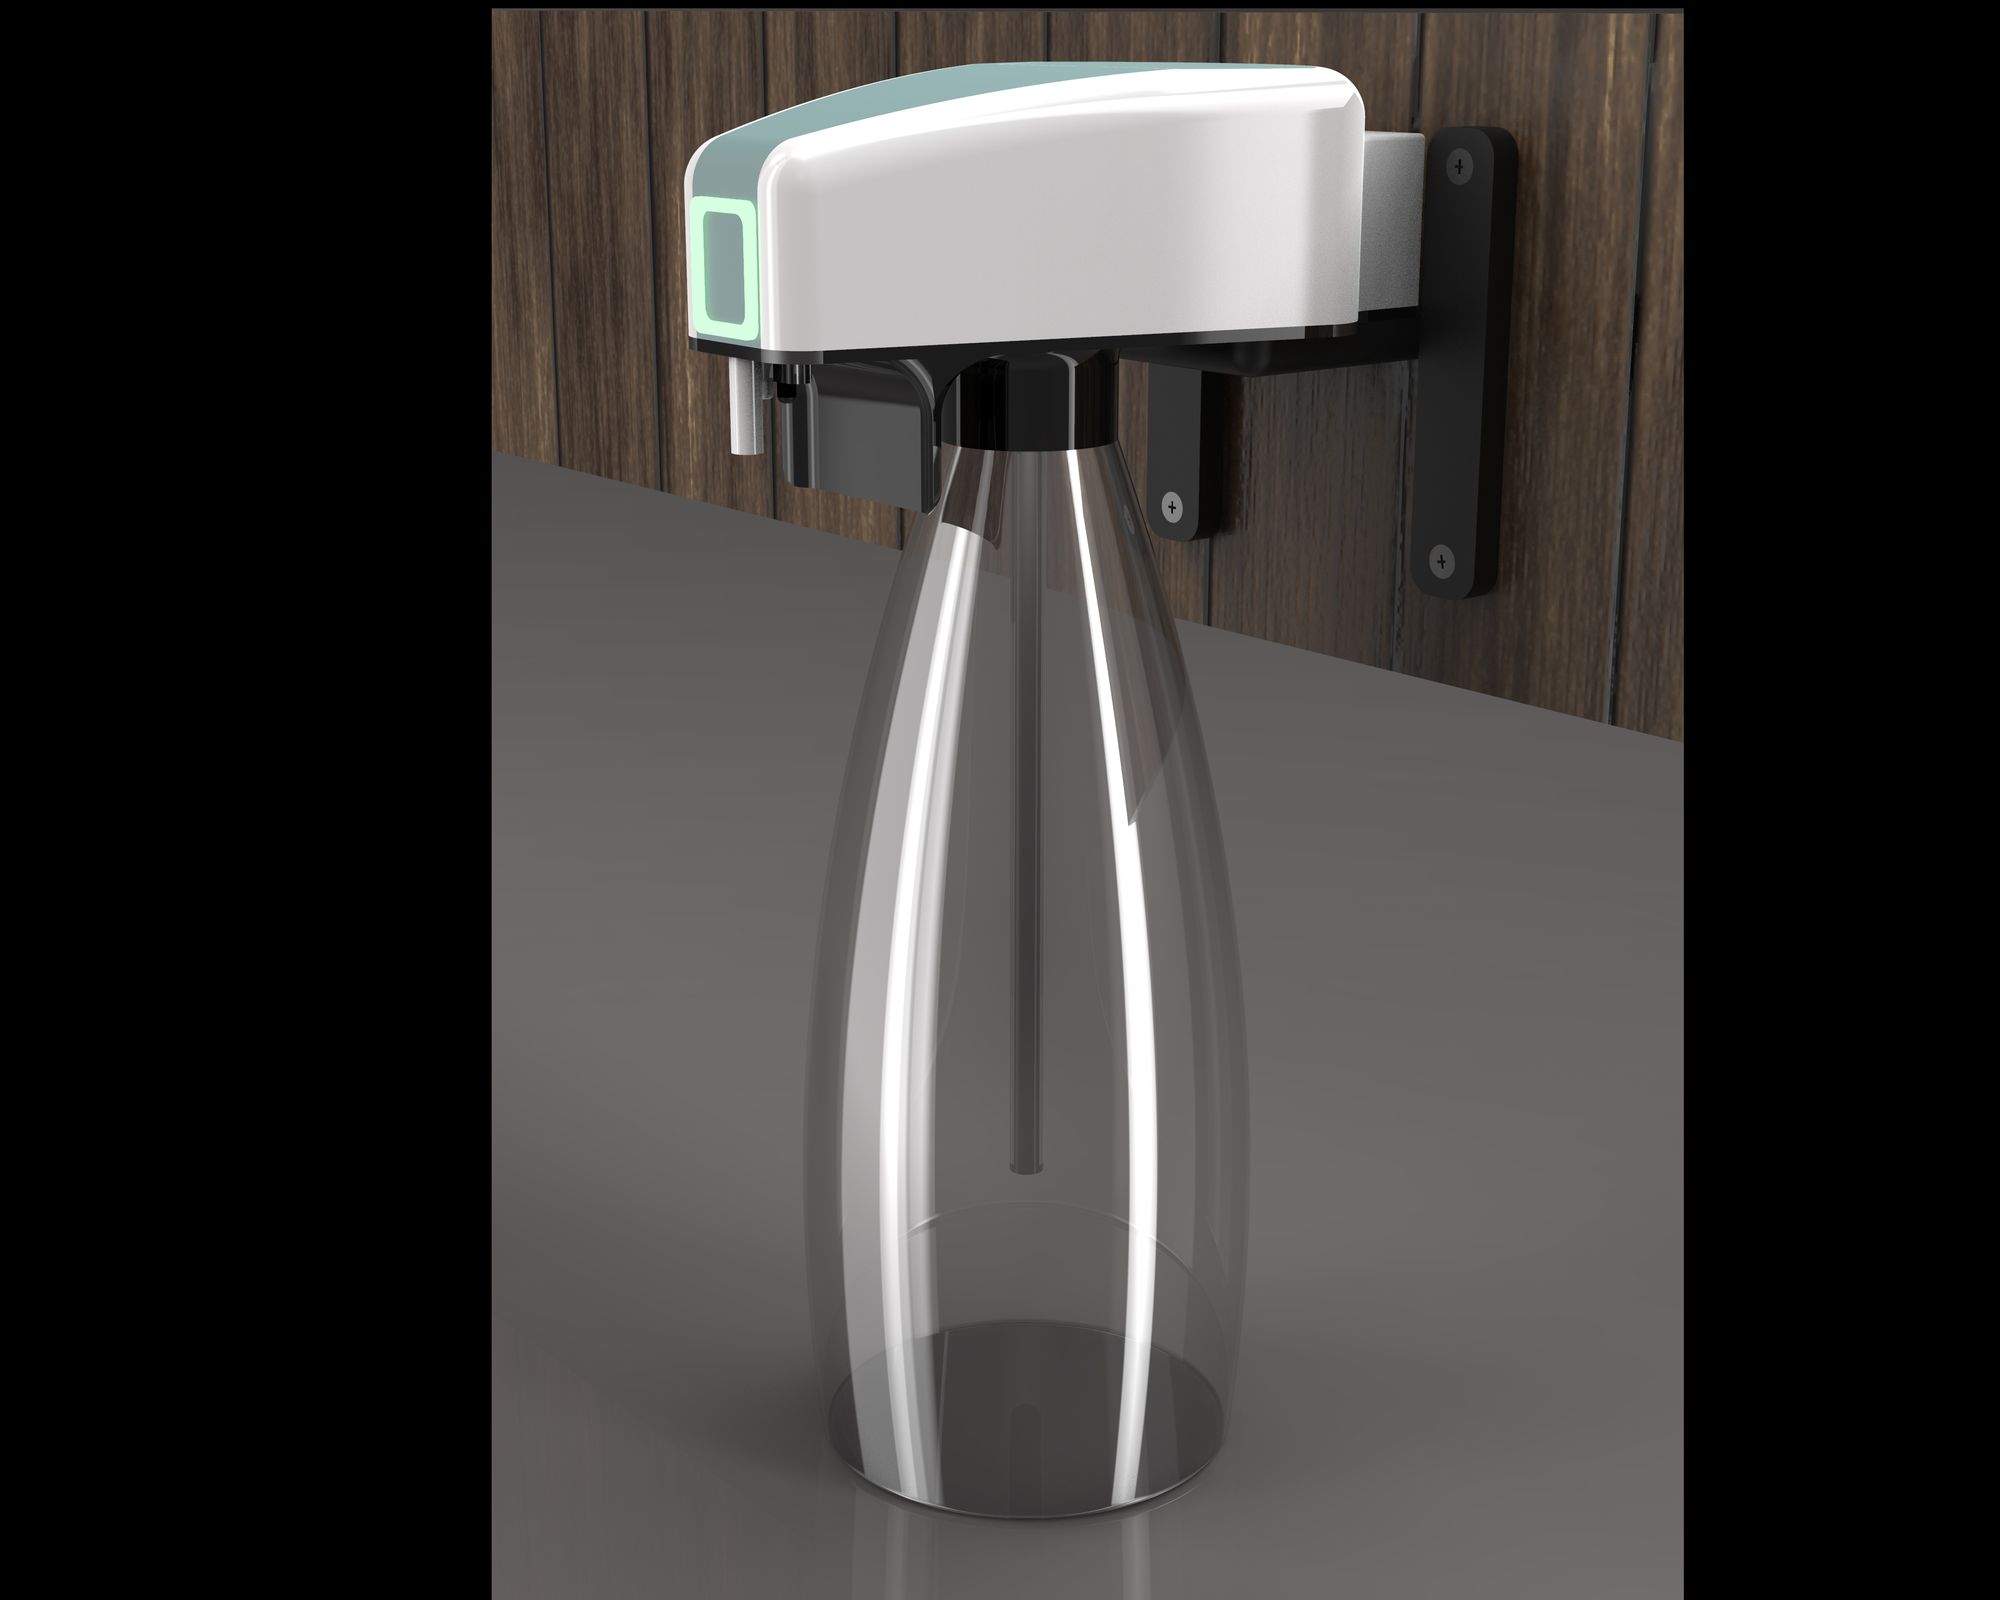
A slim , compact design was our priority , the product needed to be as aesthatically pleasing. Our primary sketching concentrated on trying bring a lot of curves to the form of the product.
After the sketch was completed we went for a client review , they were pretty pleased witht the outcome , and wanted to look at a concept based this sketch .
Concept Designing
Concept design based on the sketch was completed , but it turned out that teh provision for wall mounting could be dificult and the overall structure was a little too bulky for the liking.
Client Review
After the clients reviewed teh concept they , gave us a feedback to reduce the bulkiness .
Changes Made
After carefully considering the limitaions and taking the client review into consideration, we made a few changes to the overall design of the product.
Changes:
-
Fit all the working componants ( Pump , battery, Arduino board) into a single console . To reduce bulkiness in the body of the product.
-
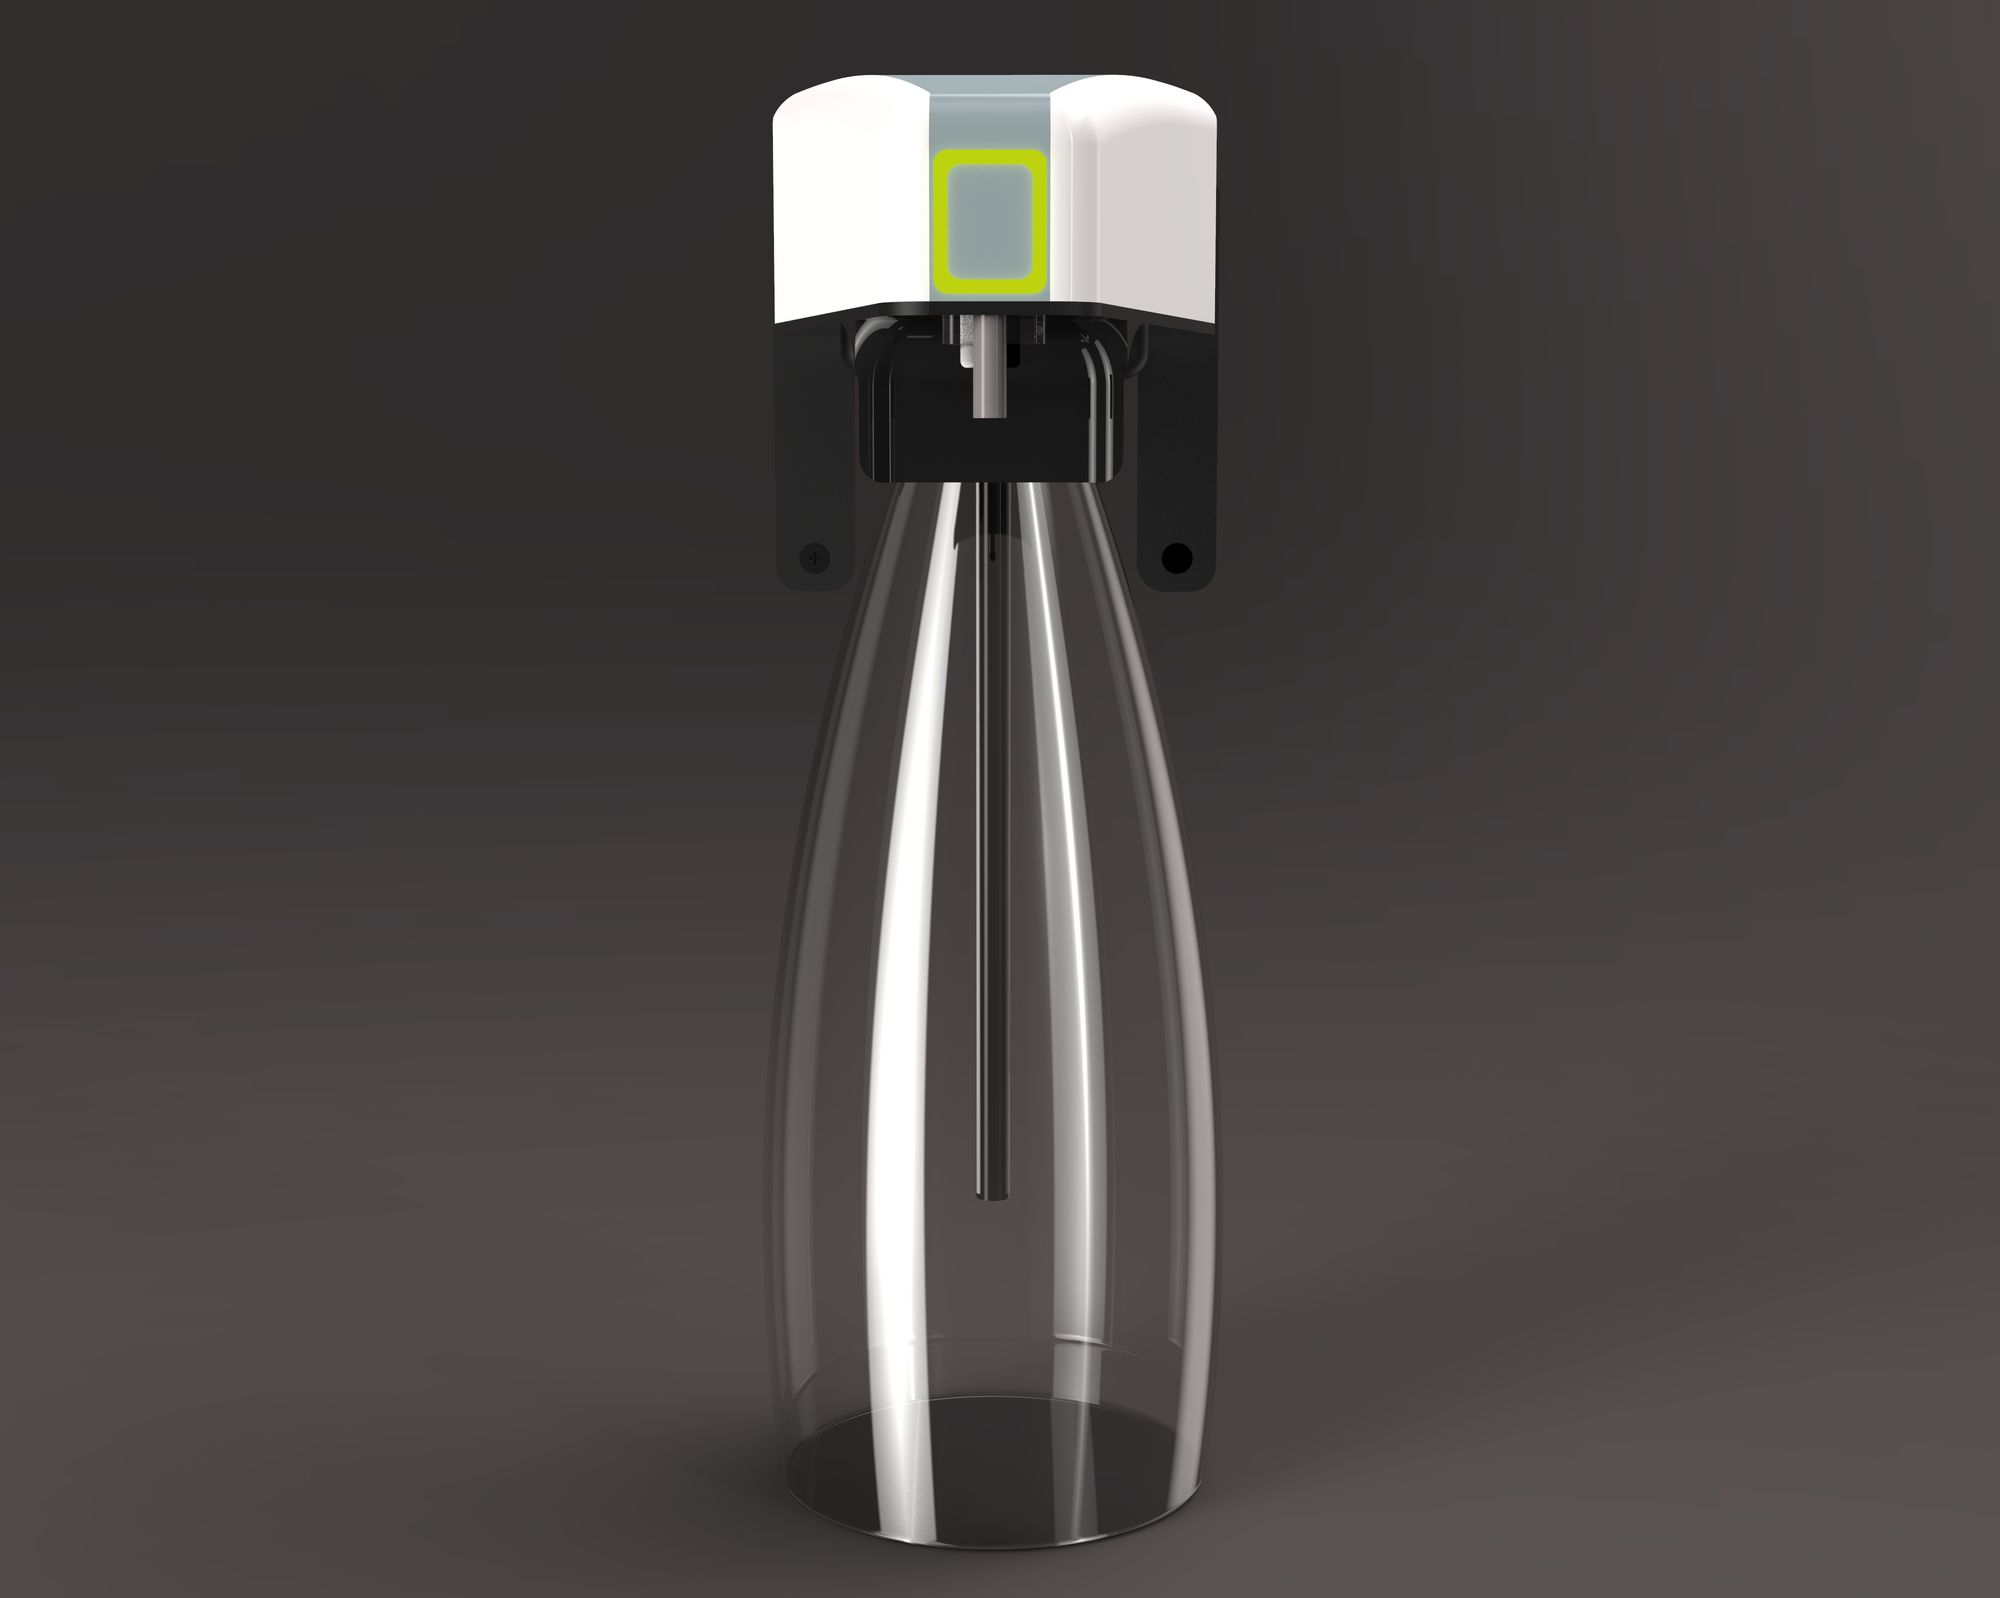
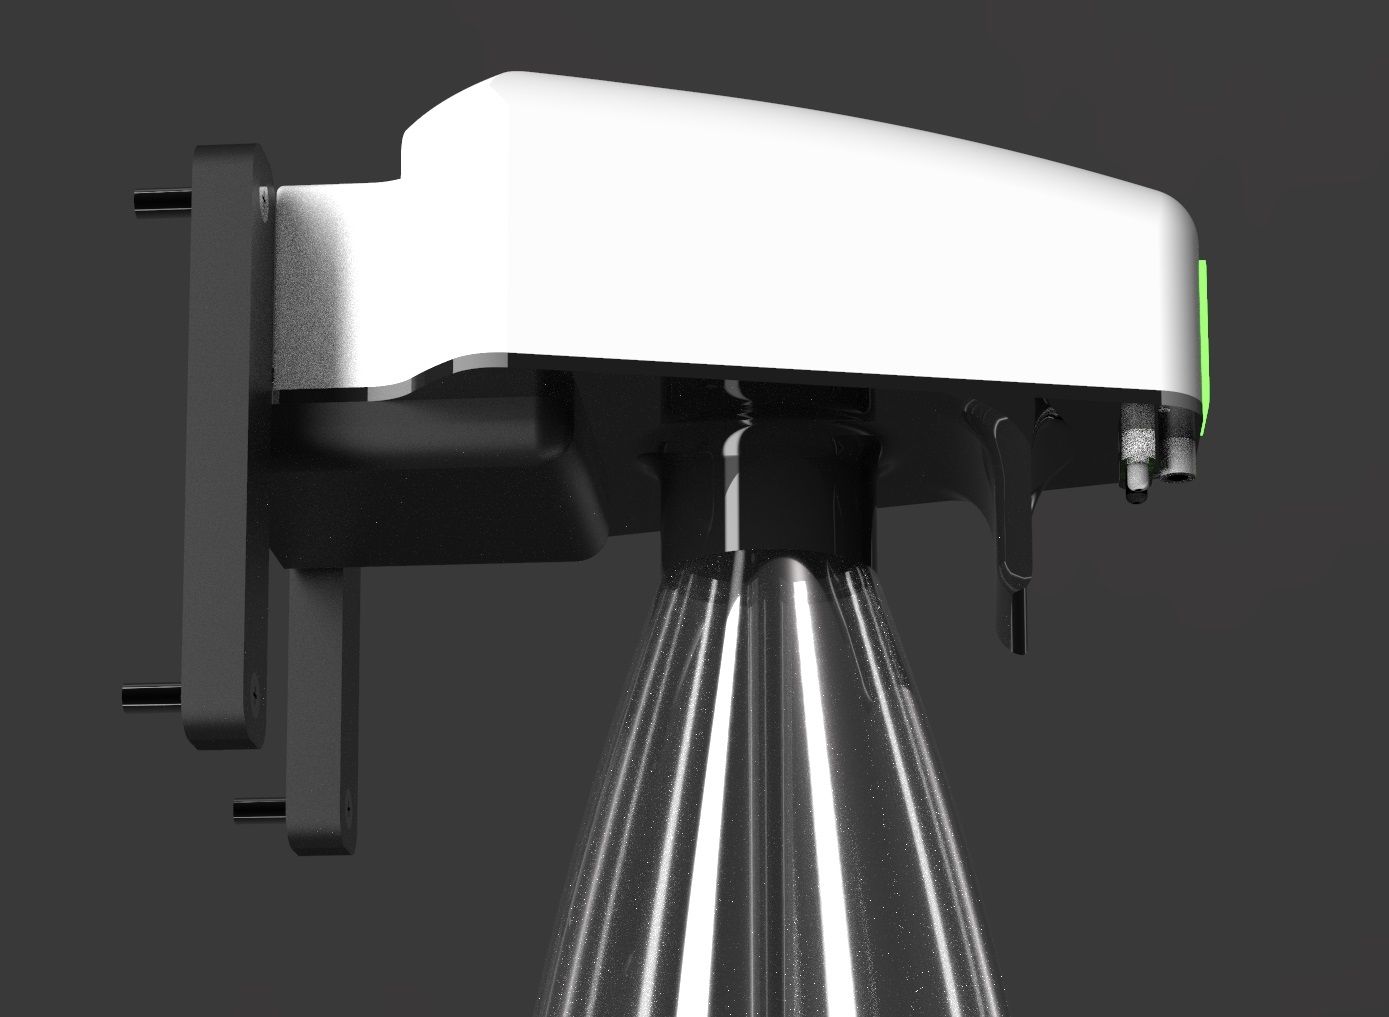
Make a modular Head , instead of going for a full fledged head + body design. This will eventually help us in using the product in 2 ways : Wall Mounted as well as to be placed on any flat surface if the client requires it.
-
The Placement of IR sensors were moved front the frontal surface to teh bottom surface to give the product a tidier appearance.
Design Iterations
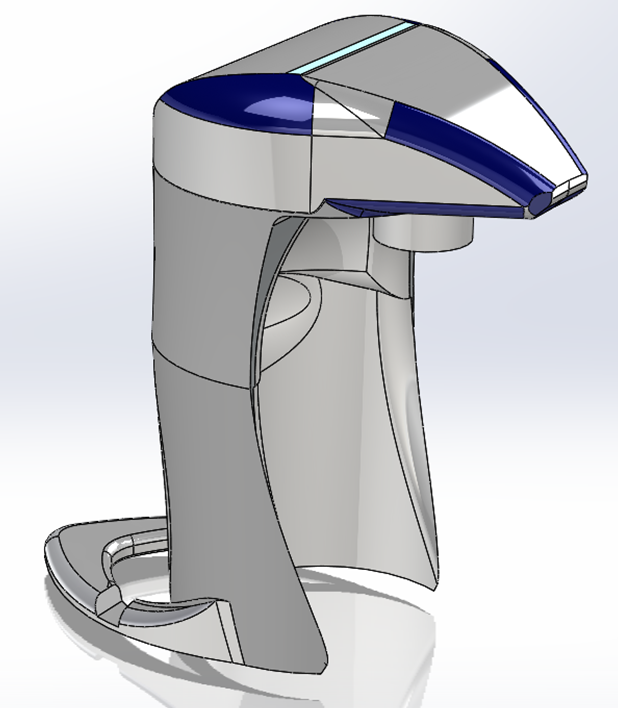
Concept Design
After taking note of all the changes we wanted in this iteration of the product , we had a better idea on what we had to deliver to the client.
The design was made : Central modular head which could easily be fir into any bottle of teh client schoice.
The provision to be wall mounted was also provided using a simple wall mount design that could be attached and detached from the main body of the product.
With the option for a custom stand , this product was more versatile than the first rendition.
After applying these aspets, the team was able to come up with a satisfactory design.
Changes Made
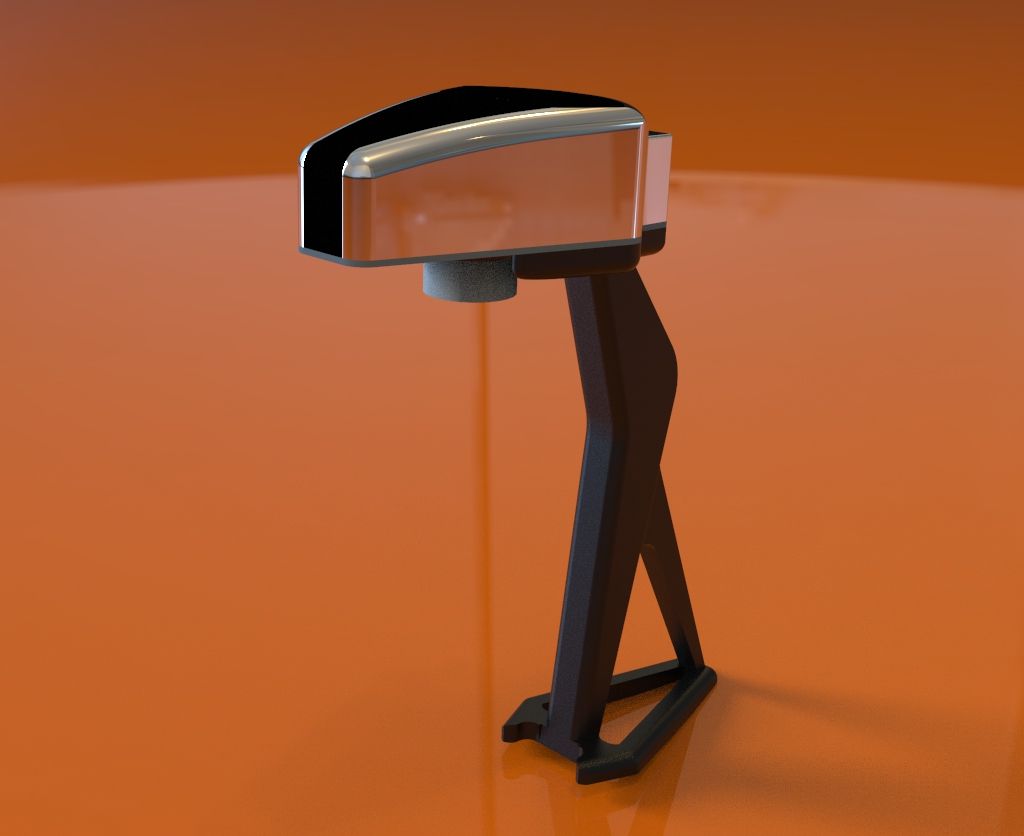
-
LED Highlights were incorporated on the frontal surface of the head , with backlit power button at the rear syrface of the Head.
-
A protective extrusion was intergrated on the external surface of the inner console to prevent splashing of liquid onto the bottle and also to act as a guide as to where the liquid would be dispensed from.
-
Well designed Wall Mounts with flush fit philip screws
-
LED lit Power Button at the rear , with micro USB charging port.
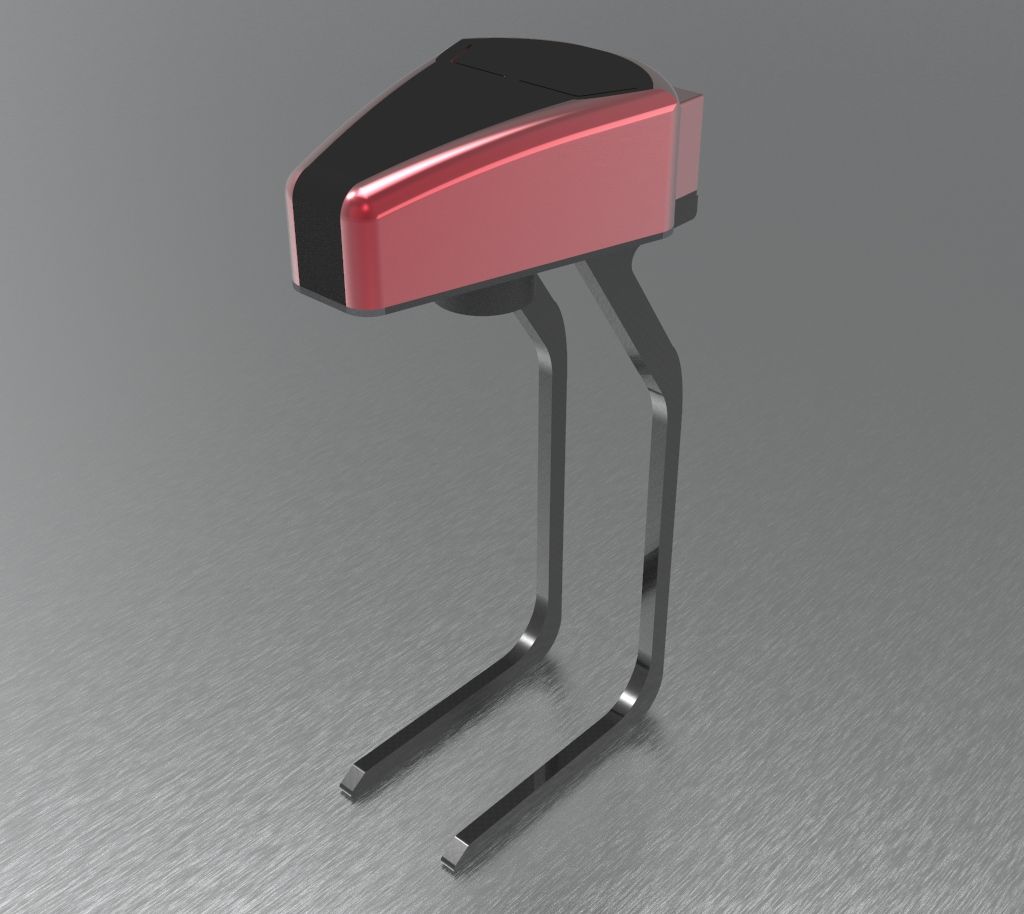
Concepts Displayed
Client review
The client was satistied with the outcome, We shared the CAD model adn .step files with them after which they approved for the design .
Keyshot Renders
Once our final CAD model was finalised we made several Keyshot renders to imitate hoe the product would look in real life. Although the product wasnt very curvy this time , it was more functional and practical .
Final Prototype Design
After Client review of the renderings and CAD files that were sent to them ,based on the feedback . A few more minor changes were made , after all the changes were approved and after the team was satisfied with the product / Final CAD Model we proceeded to go for making an initial Prototype Design.
This design included all the changes and alterartions we had made over the preceeding stages.
A final CAD model with the right dimensional stability , form and manufacturability was designed.
Keeping the design guidelines for SLA in mind we had carefully desined and laid out the design for various componants.
A final Assembly was made to check for any imperfections that we had missed during the previous stages , we didnt find any such mis matches .
And hence proceeded to the next stage after the client had approved the prototype Design.
Total time For Design Phase: 36 Hours
Manufacturing :Form and Fit Testing
After the final CAD model is done , we move onto the printing phase , where we printed out the inner console And external housing.
After assembling all the componants that were required for the final product , we had another round of testing to see if we had any real time problems in the fit finish and dimensional imperfections.
If at this stage any imperfections re identified , we can go back to the CAD model and make the required change.
So it is very crucial to be careful in this stage to avoid overlooking even the smallest error.
Total time : 8 hours
Submission Of Delievrables
After all these phases we come to the last phase of Product development that is the submission of all the deliverables to the client . In our case the CAD models , Keyshot Renders and the prototype that was printed .
The cost of the prototype would be taken from the client , depending on the quantity and number of iterations .